Update an existing vendor
Last updated: 2024-03-31
The Vendor Admin User is responsible to keep all information regarding their company up-to=date.
- Each vendor MUST have a Vendor Admin User MUST have a Wisconsin Access Management System (WAMS) ID to log into VRS.
- Each Vendor Admin User MUST have a Wisconsin Access Management System (WAMS) ID to log into VRS.
- Contact the Agency Admins at AWPSupport@dot.wi.gov to change your Vendor name or Federal Employer ID.
- If adding or changing work classifications, keep in mind that only the Primary Work Classification is displayed in AASHTOWare Project on the vendor's record.
Upon logon, one of the one of six home screens below will appear. Expand each section for more information.
Tip: If the Vendor Admin User is not logged into VRS, go to VRS Logon Process for details.
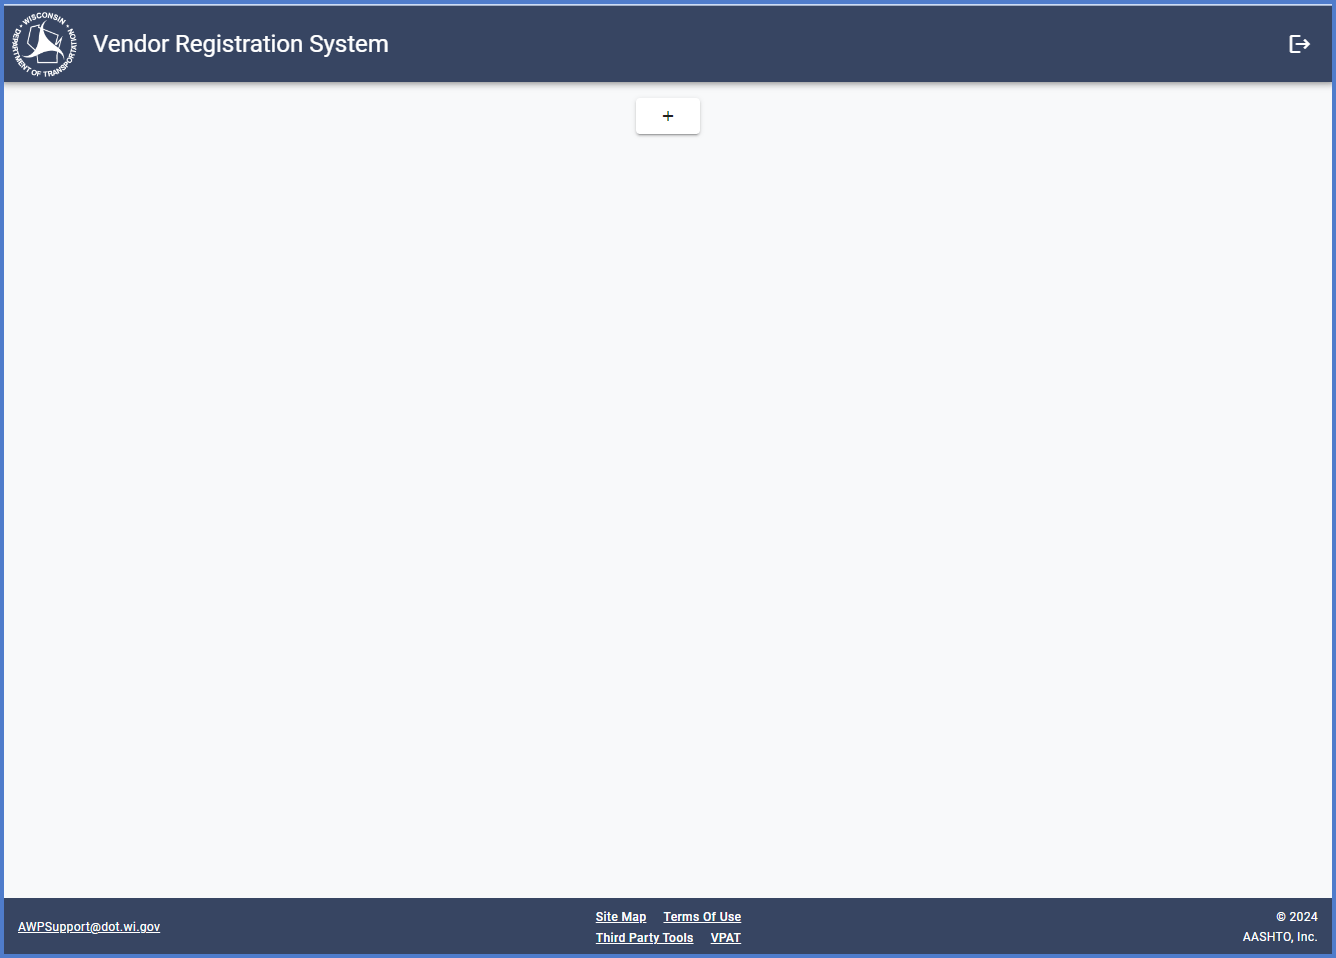
The home screen will display with no vendor records. Click the ![]() plus icon to Search for an existing vendor in VRS. If the existing vendor record is not found, the Vendor Admin User will have the option to create and register as a new vendor.
plus icon to Search for an existing vendor in VRS. If the existing vendor record is not found, the Vendor Admin User will have the option to create and register as a new vendor.

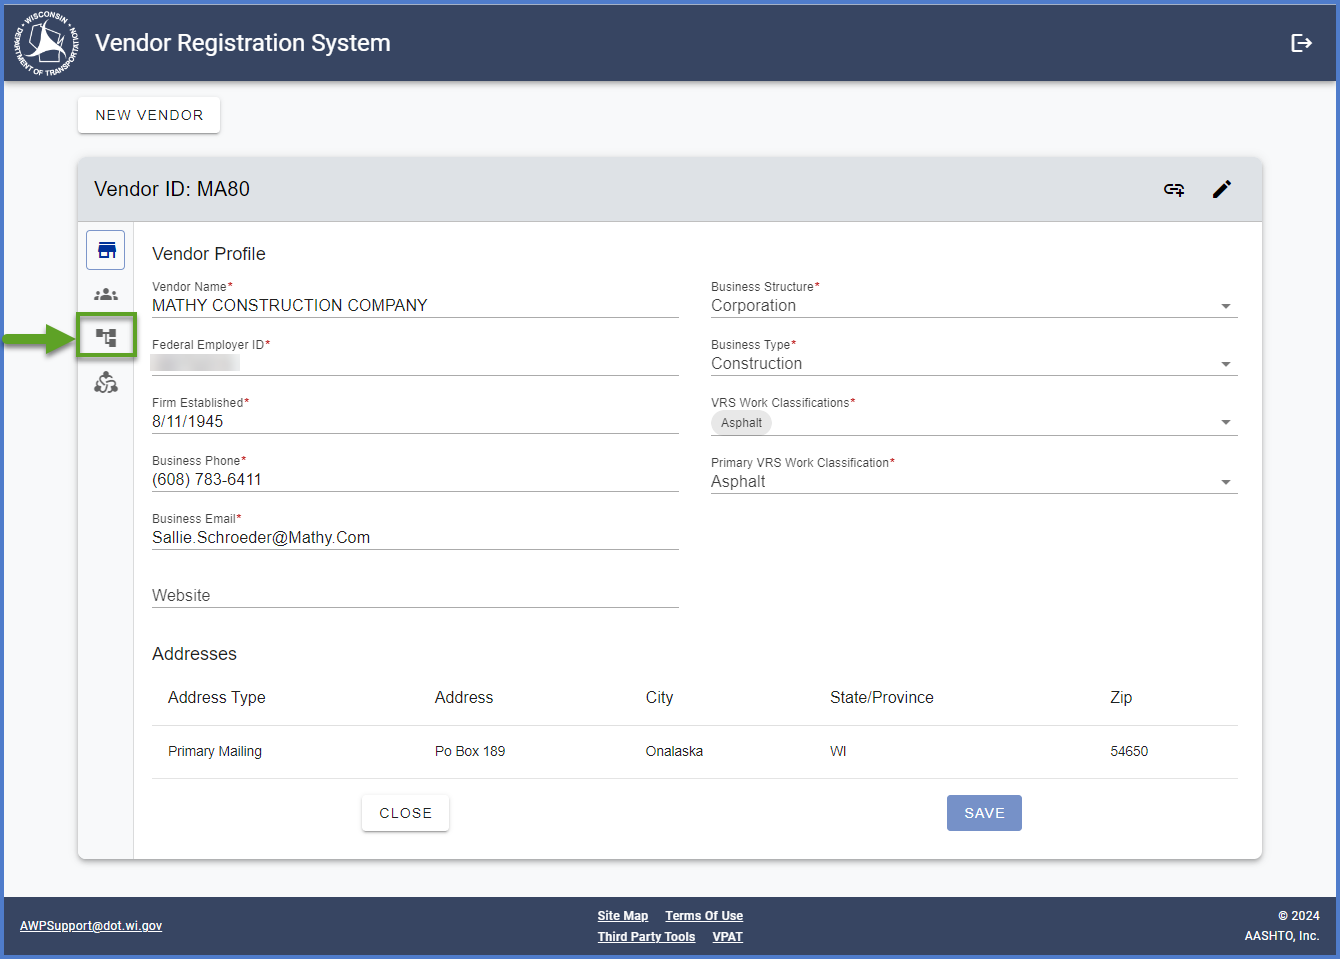
The home screen will display the parent vendor with the Vendor Profile, Officers and DBE Certification tabs. The Vendor Relationships tab will not be present.
-
Select the
 edit icon to switch to update mode and make changes to the Vendor Profile.
-
On the
 Vendor Profile tab, update data fields using the Vendor Profile data fields table for guidance. Click <Save> when complete.
 -
Click on the
 tab to update data fields using the Vendor Officer data fields table for guidance. Click <Save> when complete.
 -
If applying for and checking on DBE certification status, go to DBE certfication process for more details.

The home screen will display multiple vendors.
-
Select the vendor to open from the Vendor Profile page.
-
Select the
 edit icon to switch to update mode and make changes to the Vendor Profile.
 -
On the
 Vendor Profile tab, update data fields using the Vendor Profile data fields table for guidance. Click <Save> when complete.
 -
Click on the
 Officers tab to update data fields using the Vendor Officer data fields table for guidance. Click <Save> when complete.
 -
If applying for and checking on DBE certification status, go to DBE certfication process for more details.

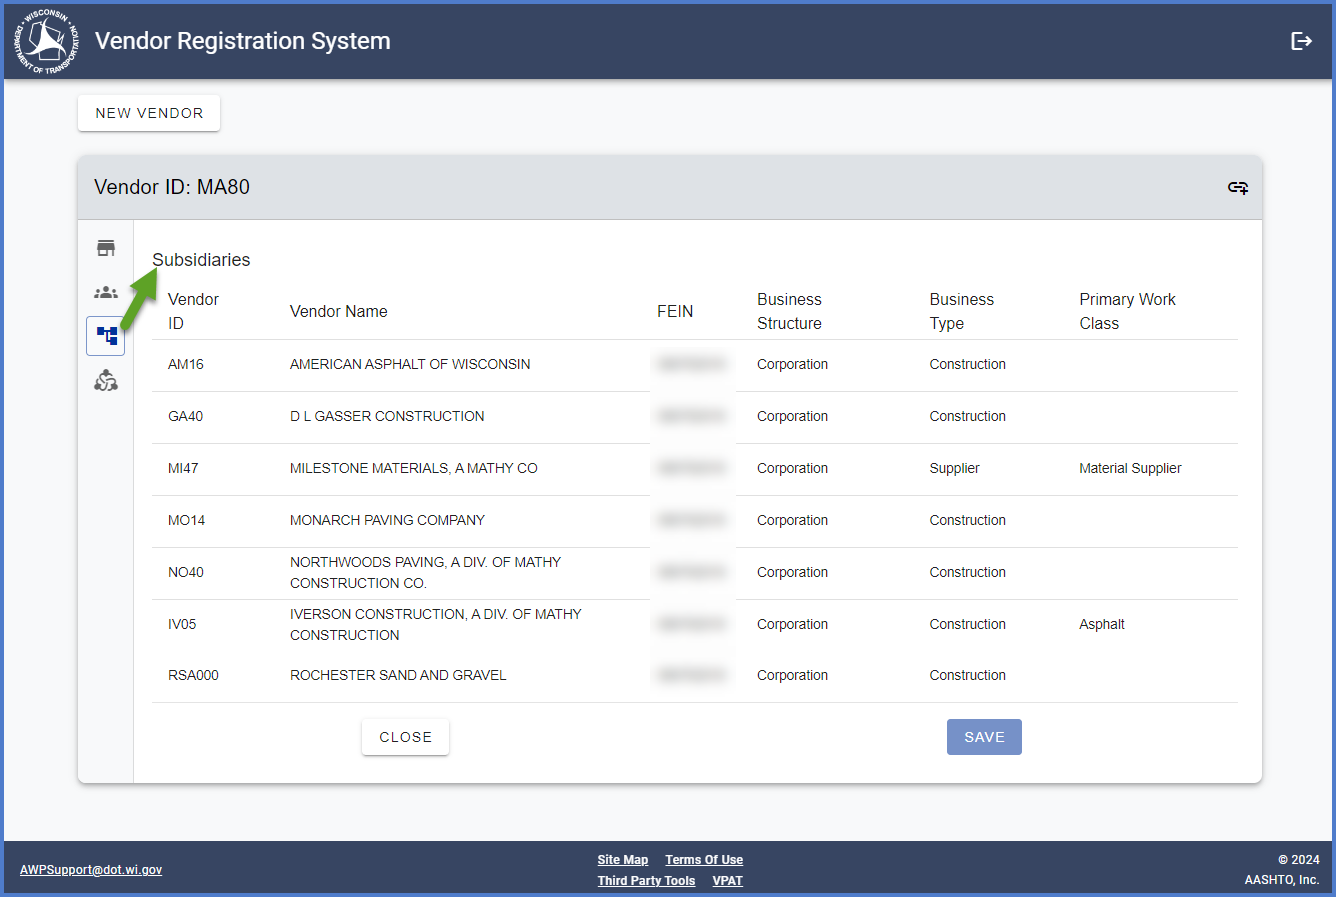
The home screen will display the parent vendor with a Vendor Relationships tab. Click on this tab to see the a list of the Subsidiaries.
-
Click on this tab to see the a list of the Subsidiaries.
-
If the currently logged on Vendor Admin User would like to take ownership of one or more of the listed subsidiaries, make note of the Vendor Name and Vendor ID. Go to Vendor Search and complete all the steps including the portion on Change Vendor Admin User.


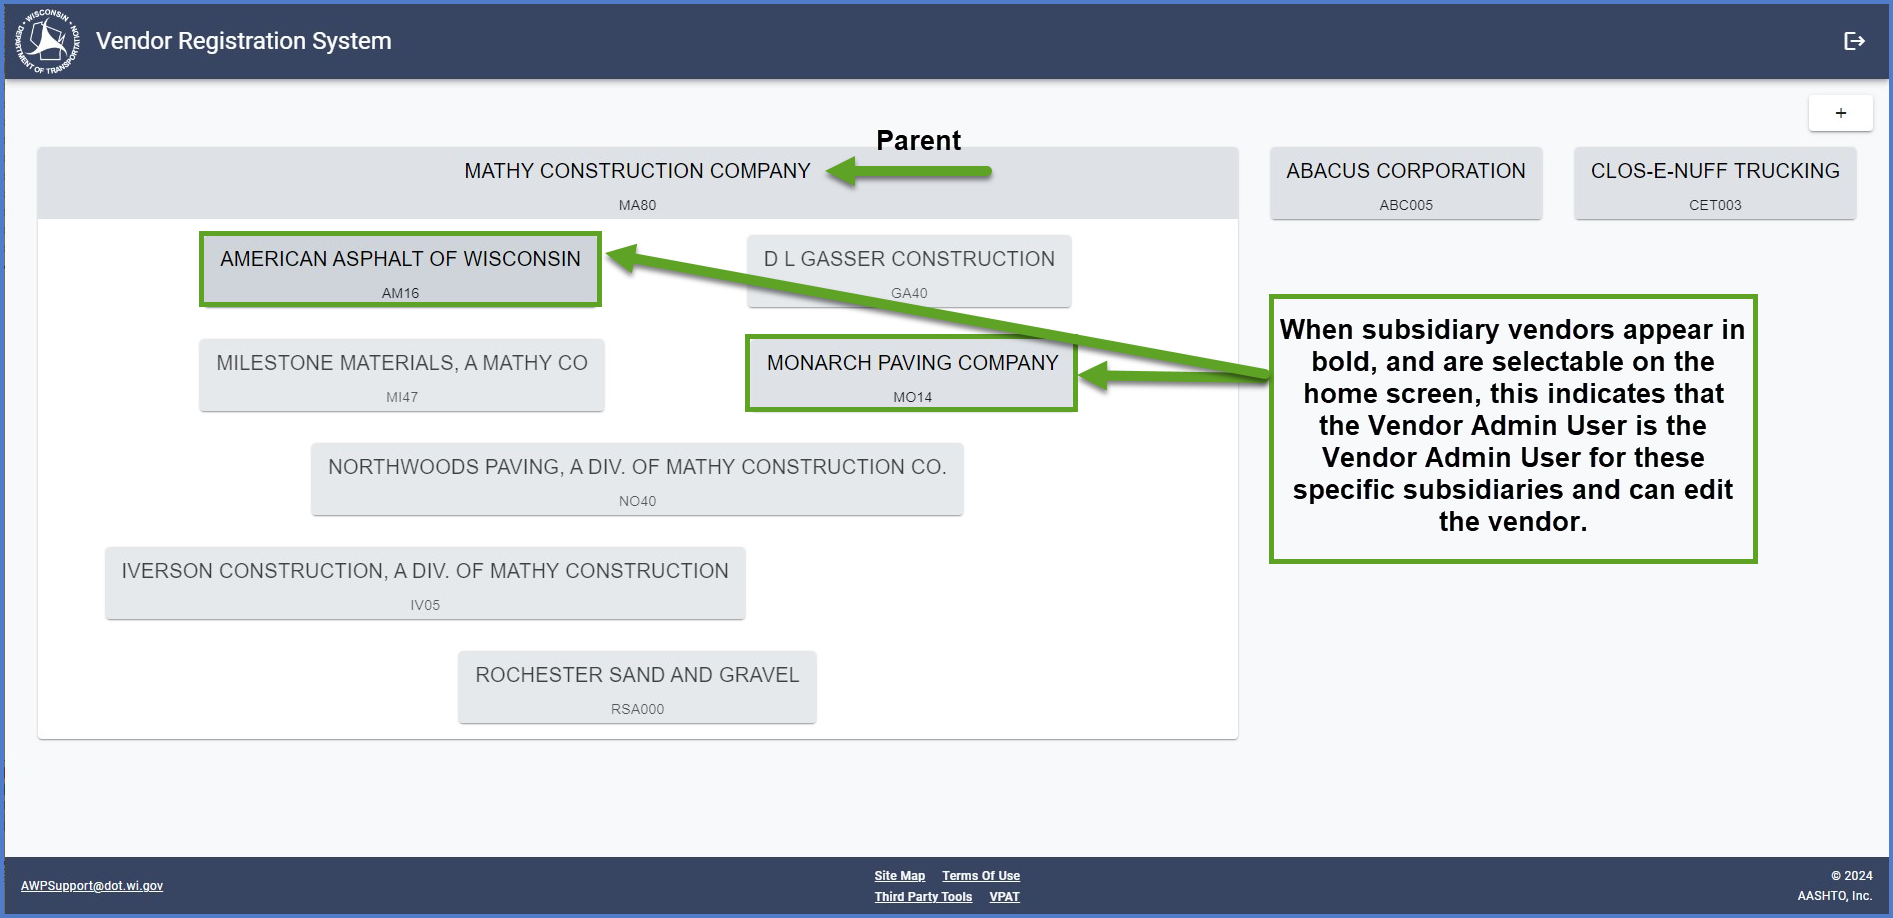
The home screen will display the parent vendor and all the subsidiaries listed below. In the example below, when subsidiary vendors appear in bold, and are selectable on the home screen, this indicates that the Vendor Admin User is the Vendor Admin User for these specific subsidiaries and can edit the vendor.
-
If a change is made to either the parent or another subsidiary, the changes are not automatically applied to the other vendors. Repeat steps 1-5 for the parent and each subsidiary.
-
Select the bolded subsidiary to edit.
-
Select the
 edit icon to switch to update mode and make changes to the Vendor Profile.
 -
On the
 Vendor Profile tab, update data fields using the Vendor Profile data fields table for guidance. Click <Save> when complete.
 -
Click on the
 Officers tab to update data fields using the Vendor Officer data fields table for guidance. Click <Save> when complete.
 -
If applying for and checking on DBE certification status, go to DBE certfication process for more details.
The home screen will display the parent vendor and all the subsidiaries listed below. In this example, when subsidiary vendors are grayed out on the home screen, this indicates that the Vendor Admin User is not the Vendor Admin User for these subsidiaries. If the currently logged on Vendor Admin User would like to take ownership of one or more of the listed subsidiaries, make note of the Vendor Name and Vendor ID. Go to Vendor Search and complete all the steps including the portion on Change Vendor Admin User
