VRS logon process
Last updated: 2026-02-04
This section describes how a Vendor Admin User will log into the Vendor Registration System (VRS).
- Each vendor has a single point of contact referred to as the Vendor Admin User. The Vendor Admin User is the business representative responsible for maintaining vendor account information within the WisDOT Vendor Registration System (VRS).
- The Vendor Admin User MUST have a Wisconsin Access Management System (WAMS) ID. The system requires the WAMS ID at logon for authentication purposes. Go to WAMS account management for detailed instructions to create a new WAMS account and maintain an existing WAMS account.
- A Vendor Admin User needs only one WAMS ID. If the individual already has one for another State of Wisconsin application, the WAMS ID can be used for the VRS system too.
Log onto the WisDOT Vendor Registration System using the WAMS ID and password by completing the steps below.
-
Go to the Vendor Registration System (VRS) URL.
-
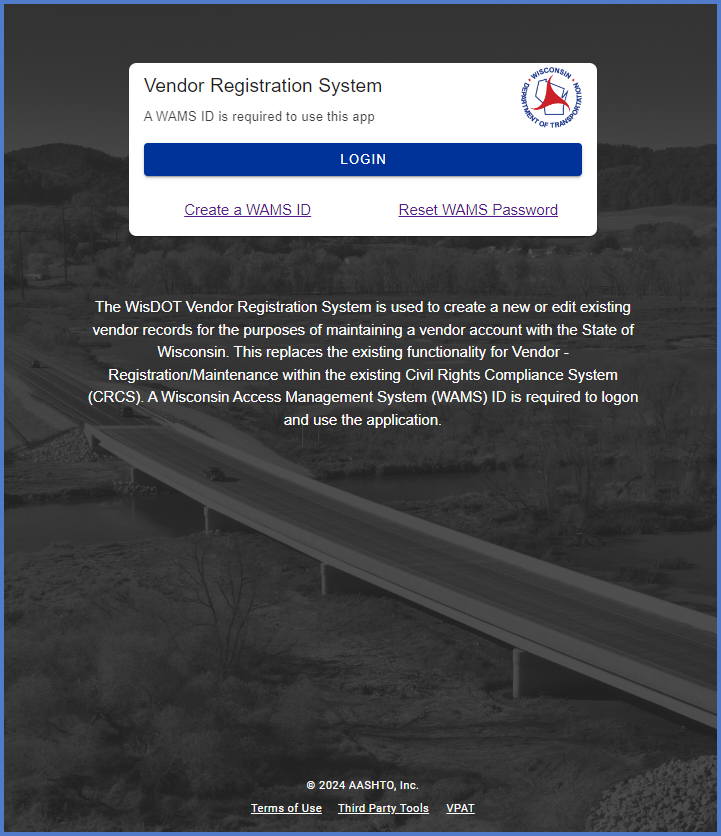
On the Vendor Registration System welcome windows, click the <Login> button to begin the process.
-
When a user logs onto the Vendor Registration System (VRS) for the first time, the Terms of Use agreement will appear. Click <Agree> to continue the logon process. Go to Vendor Registration System (VRS) FAQs | Terms of Use agreement for more information.
-
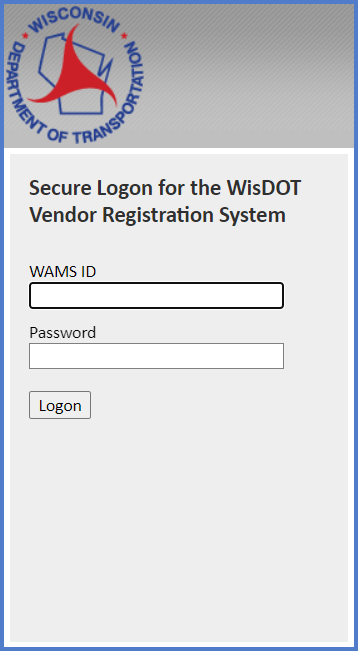
On the Secure Logon for the WisDOT Vendor Registration System complete the following fields:
- WAMS ID: Wisconsin Web Access Management System (WAMS)
- Password: Password associated to the WAMS ID
- Click <Logon>.
-
Depending upon the status of the individual logging onto VRS, one of six home screens below will appear. Expand each section for more information.
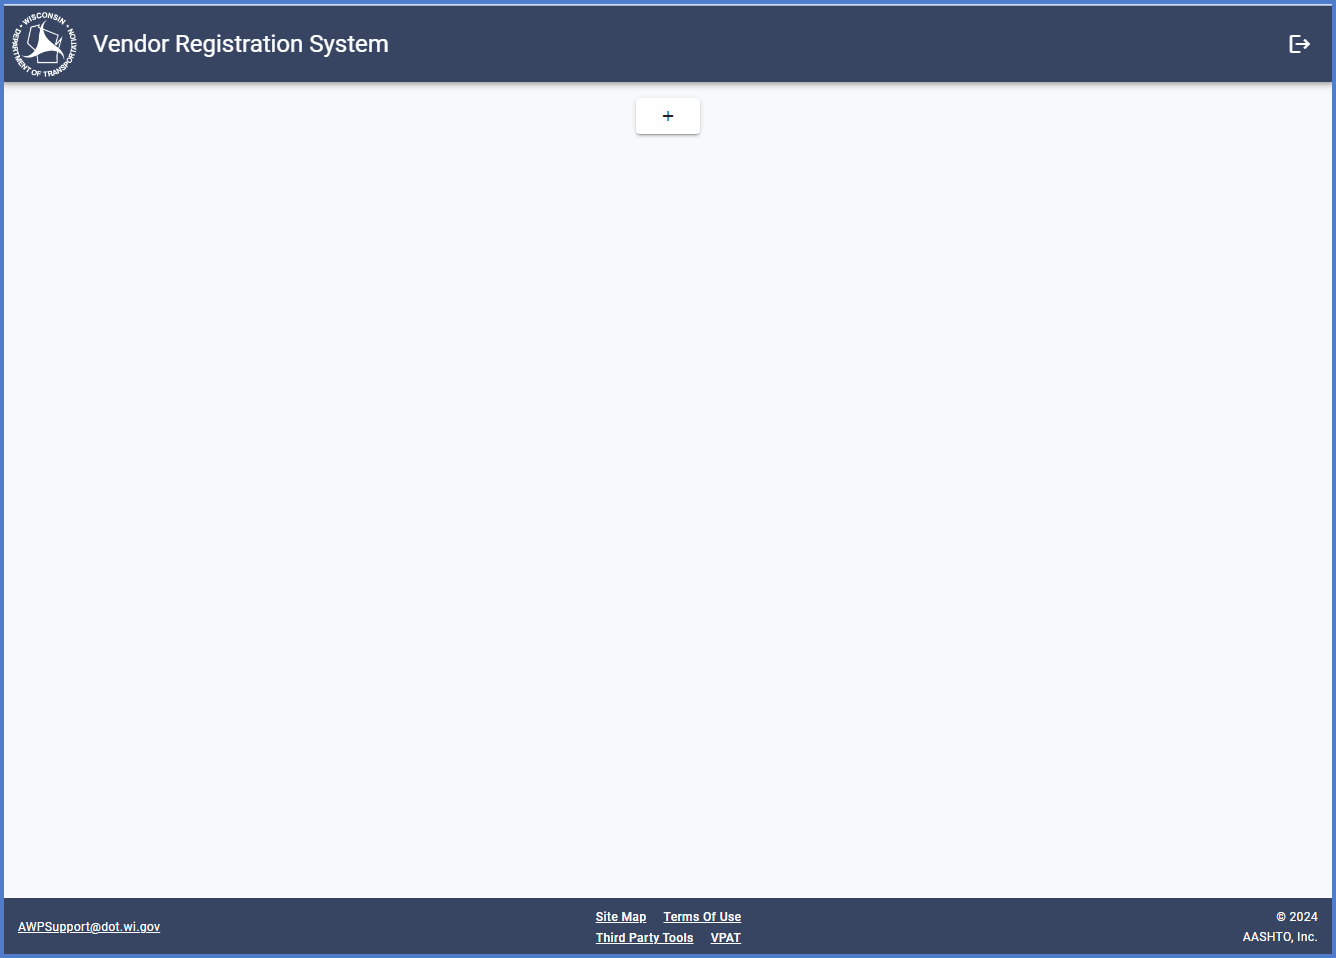
The home screen will display with no vendor records. Click the ![]() plus icon to Search for an existing vendor in VRS. If the existing vendor record is not found, the Vendor Admin User will have the option to create and register as a new vendor.
plus icon to Search for an existing vendor in VRS. If the existing vendor record is not found, the Vendor Admin User will have the option to create and register as a new vendor.
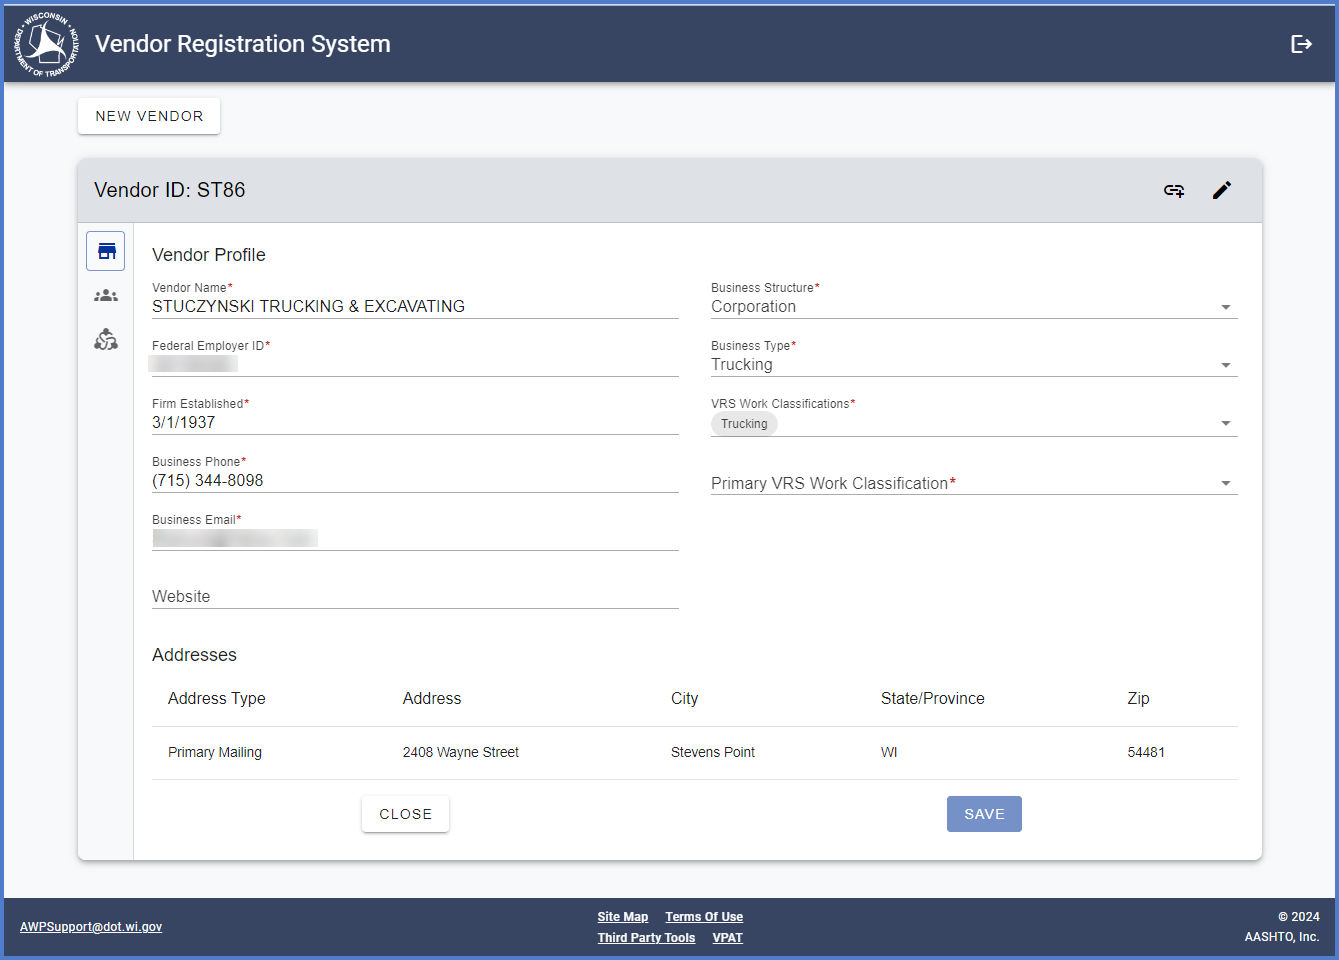
The home screen will display the parent vendor with the Vendor Profile, Officers and DBE Certification tabs. The Vendor Relationships tab will not be present if this is a single vendor. Select the ![]() edit icon to switch to update mode and make changes to the
edit icon to switch to update mode and make changes to the  Vendor Profile tab or
 Officers tab.
The home screen will display multiple vendors. Select the vendor to access detailed vendor information.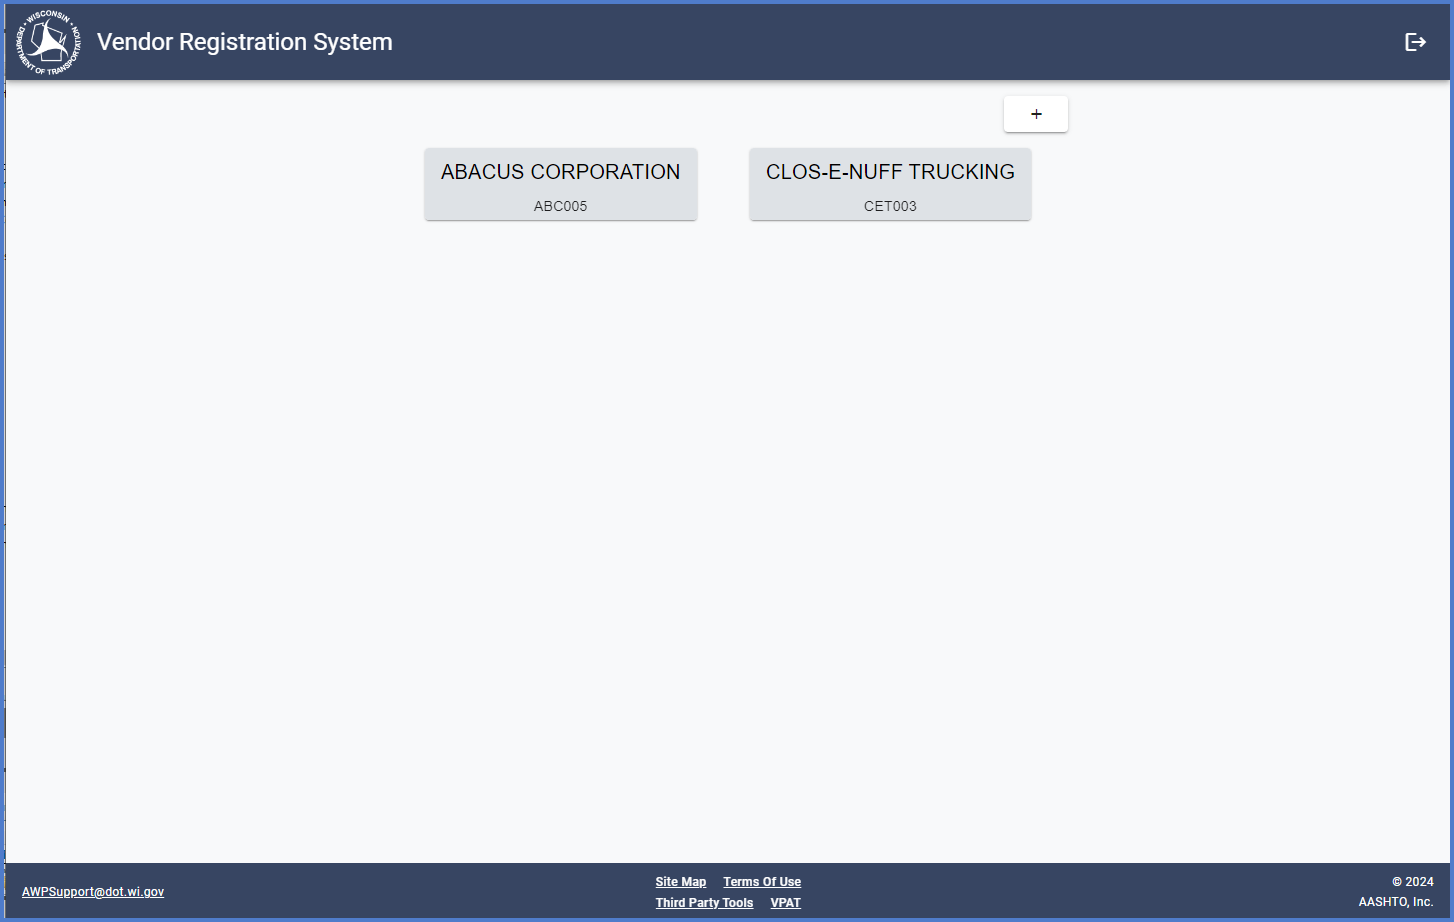
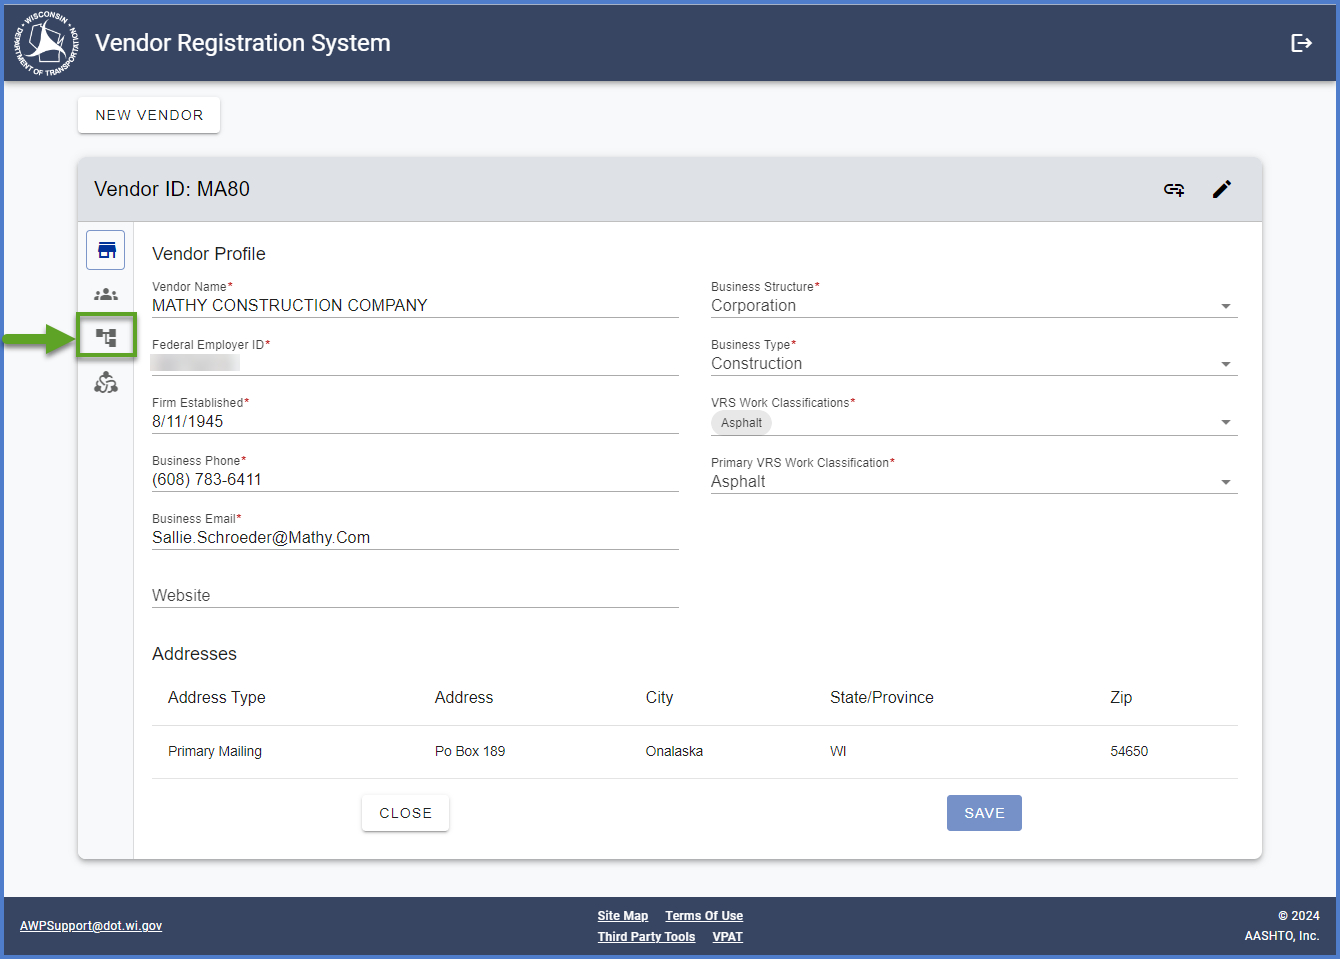
The home screen will display the parent vendor with a Vendor Relationships tab.
-
Click on the
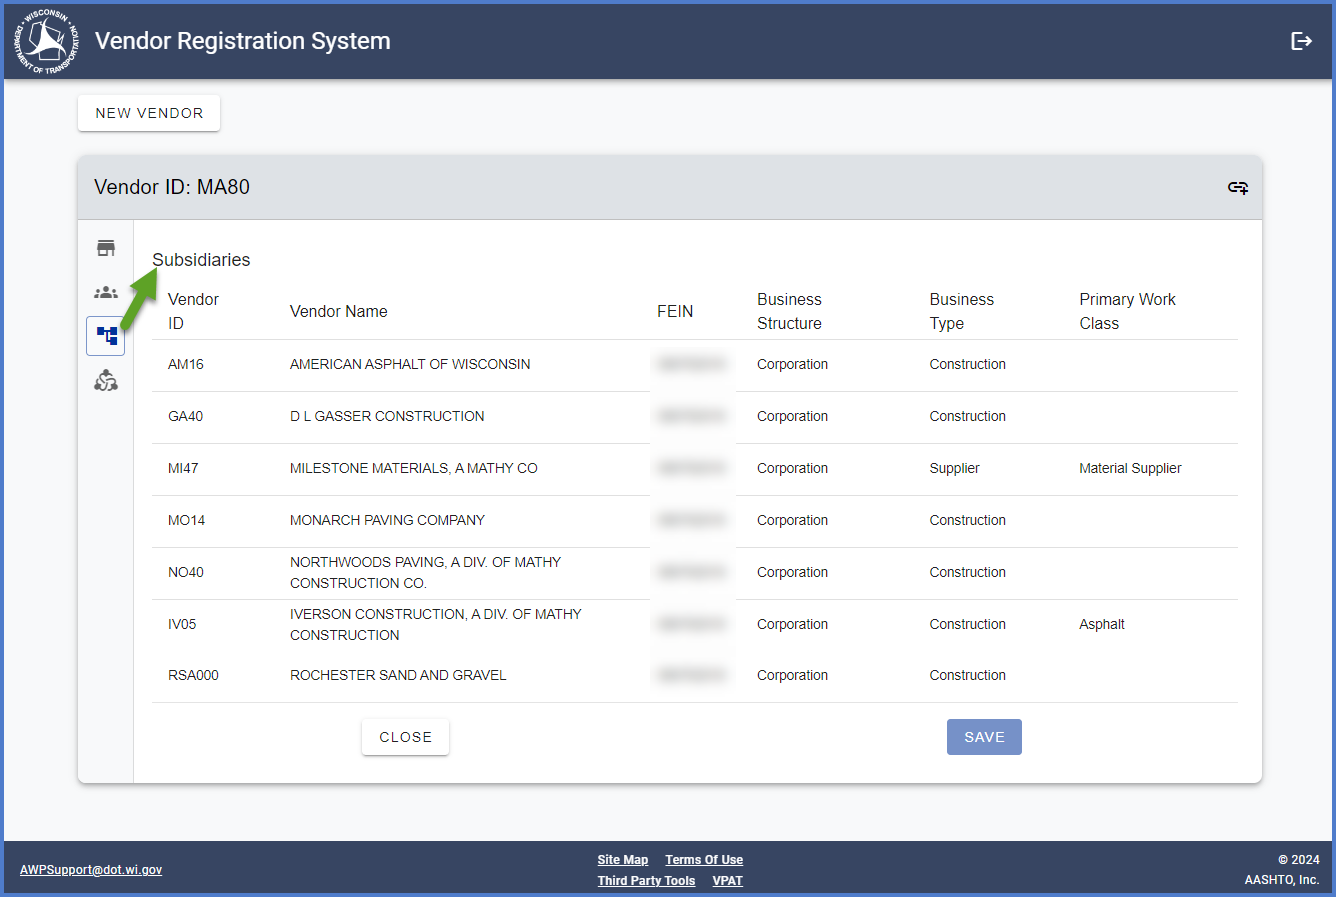
 Vendor Relationships tab to see the a list of the Subsidiaries.
 -
If the currently logged on Vendor Admin User would like to take ownership of one or more of the listed subsidiaries, make note of the Vendor Name and Vendor ID. Go to Vendor Search and complete all the steps including the portion on Change Vendor Admin User.
The home screen will display the parent vendor and all the subsidiaries listed below. In the example below, when subsidiary vendors appear in bold, and are selectable on the home screen, this indicates that the Vendor Admin User is the Vendor Admin User for these specific subsidiaries and can edit the vendor.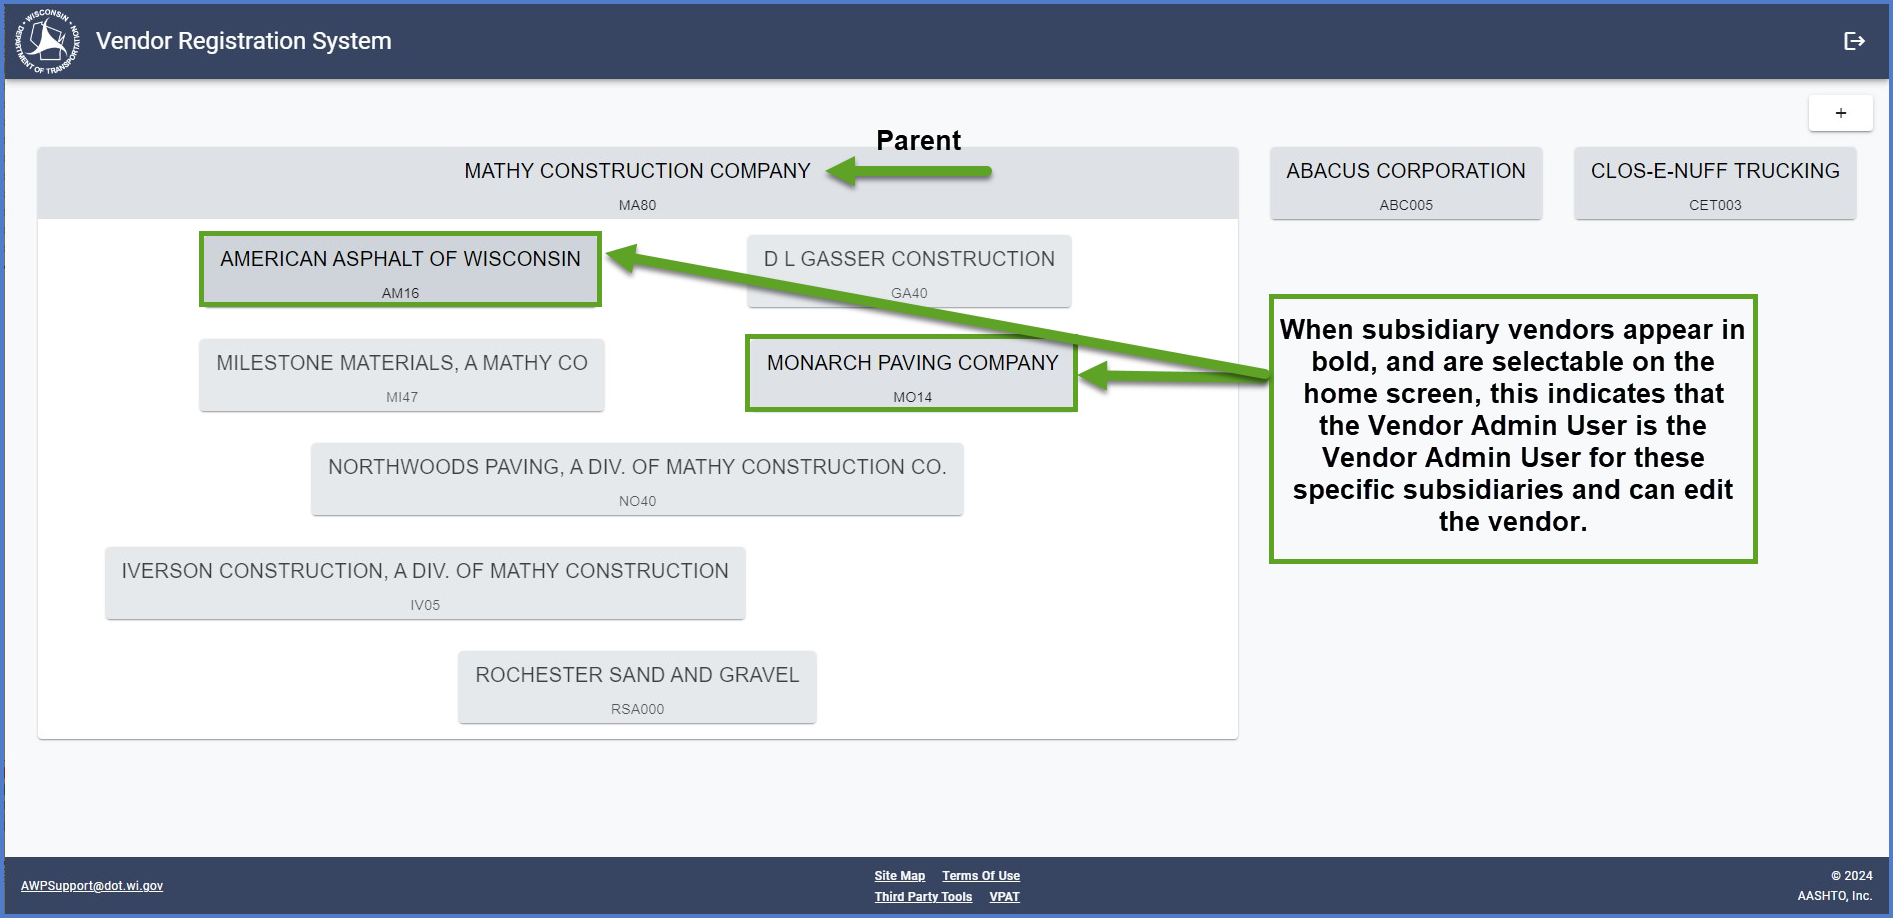
-
If a change is made to either the parent or another subsidiary, the changes are not automatically applied to the other vendors. Repeat steps 1-5 for the parent and each subsidiary.
-
Select the bolded subsidiary to edit.
-
Select the
 edit icon to switch to update mode and make changes to the Vendor Profile.
 -
On the
 Vendor Profile tab, update data fields using the Vendor Profile data fields table for guidance. Click <Save> when complete.
 -
Click on the
 Officers tab to update data fields using the Vendor Officer data fields table for guidance. Click <Save> when complete.
 -
If applying for and checking on DBE certification status, go to DBE certfication process for more details.
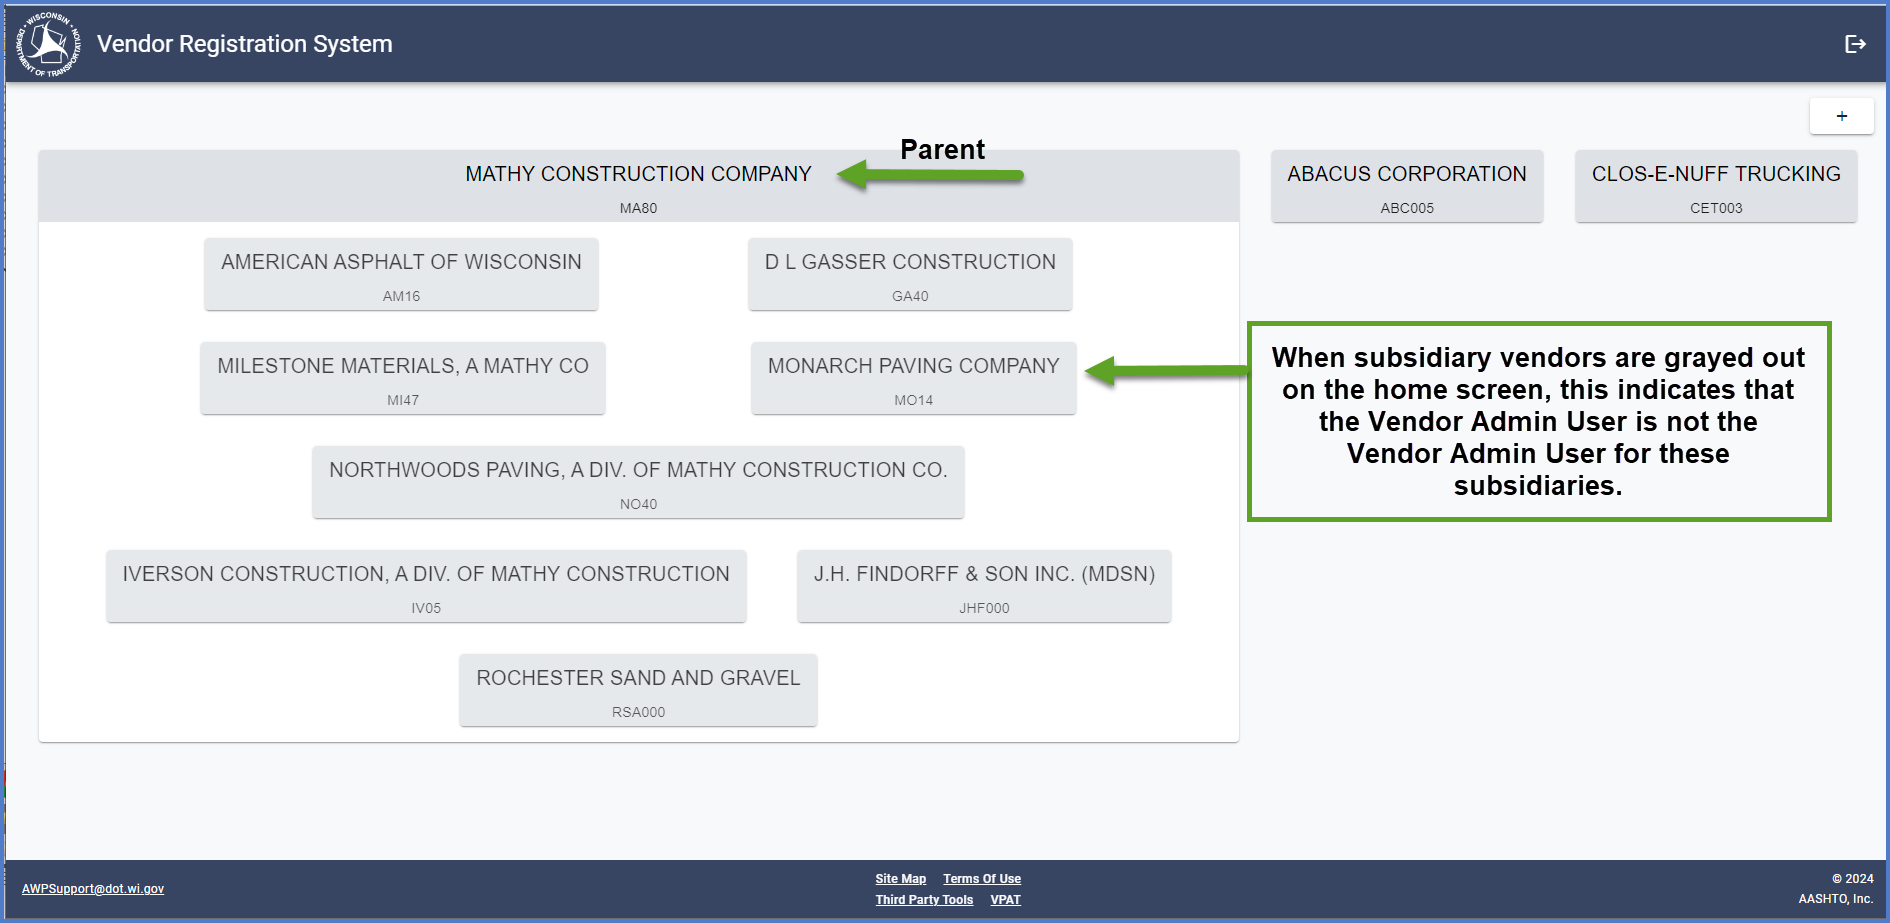
The home screen will display the parent vendor and all the subsidiaries listed below. In this example, when subsidiary vendors are grayed out on the home screen, this indicates that the Vendor Admin User is not the Vendor Admin User for these subsidiaries. If the currently logged on Vendor Admin User would like to take ownership of one or more of the listed subsidiaries, make note of the Vendor Name and Vendor ID. Go to Vendor Search and complete all the steps including the portion on Change Vendor Admin User
